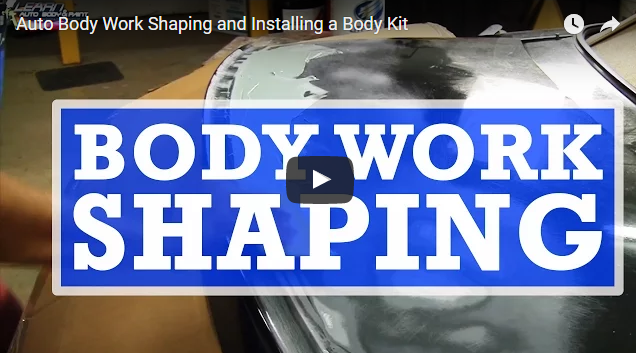
Hi, it’s Tony. Thanks for watching my video and checking out the blog today. Our topic is all about Body Work Shaping and Installing Body Kit.
We did a vote on YouTube. Majority wanted to see a custom molding instead of a finger mold for the trunk lip on the Mazda Miata Project. Check out the video as I show you how it looks like.
People wanted to see a mold that would make it look like a part of the trunk. Now, that’s what we are going to be working on. We’ll be molding and put a skin of bondo all the way around, rasp and block it out.
What I’m doing in the video is sanding down the epoxy with an 80-grit on the DA sander, knocking all of the high edges down. Then, we’ll mix up some body filler.
We already did the rasping. I’m using the 80-grit on the DA sander as well as my hands, cutting all the bondo out where it’s not supposed to be.
Once we get it down a little bit more, we’re going to spray some guide coat. This is basic black spray paint. We’ll let it dry and block it again.
Now, I’m showing you some more work using the DA sander. I’m using our panel as a guide. You need to keep your DA sander straight and feather the edges first.
I also show you how to block sand by hand with crisscrossing motion. Then, I also masked the molding, to avoid scratching it when we sand it down.
I know, I got a little lazy. I should have taken out the door handles, but it would mean extra work and time to do it, which I didn’t want to deal with.
First thing you want to do here is dry fit it. We’ll put it on and see how it fits. We may also have to sand a couple of areas.
We’re screwing the top and bottom in just a little bit. We’re using the regular sheet metal screws. Never force things, you need to make sure that it fits nice and snug.
This is how it’s looking now. We have to take it off and do a little bit of shaving and shaping. Make sure we scuff in behind both sides of the area I show you in the video, so your epoxy will stick. I still have to sand all the undercoating out of the fender area.
The reason why we’re doing this is because we’ll epoxy the body kit to this rear quarter panel section. We want to go down to metal and take the glue off.
Now, we’re checking the door alignment, to make sure it’s pretty even. Then, I’m doing a little bit of sanding so our body kit fits nice to the fender.
You need to work on it little by little. We’ll the screw it just as a placeholder. Next, epoxy it, take the screw out and go from there.
It’s Tony from LearnAutoBodyAndPaint with another short video of the Mazda Miata Project. I hope you liked it. If you want to get the complete video of this project, check out the LearnAutoBodyAndPaint VIP Course and get access to some of my projects.
If you are a newbie and want to get started in auto body work, grab your FREE 85-Page Auto Body And Paint Manual.
Please Like, Share and Subscribe to my videos. Don’t forget to join me every on my live show on my YouTube channel. It’s every Thursday at 9pm Eastern. Let’s talk more about your auto body concerns.
Talk soon!
Tony
Other Helpful Links:
Do You Use Expensive Materials or Cheaper Solutions When Painting?
Learn Auto Body – BMW Body Kit Body Work Process – Part 8 – Bondo Shaping and Sand Paper Grits
FREE Auto Body Repair Tips – Auto Body Tools – DA Sanders, In Line Sander – How To Sand a Car
The 7 Must Have Auto Body Tools – Day 6 Boot Camp
Automotive Sandpaper Grits for Painting a Car – Day 2 Boot Camp
