Did you enjoy this video? Check out the LABAP VIP course that will help you turn into an auto body and paint pro, from home!
Hey, it’s Tony with another live stream. Tonight’s topic is all about Auto Body & Paint Materials You Need To Paint Your Ride.
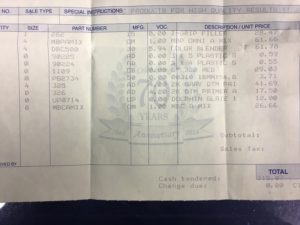
I’ll be showing you the new materials I’ll be using and how much I paid for all these materials I bought at the paint shop.
Here’s the Mini Truck Project that I’ll be starting on this weekend. We’ll do a light body work to it and pull some dents out. Check out the video as I show you the work that will be done to the Mini Truck.
We’ll also pull of the front bumper cover, sand it down and put some adhesive coating on it. We’ll also paint it with the same color as the truck.
I may also do door jambs. The main color will be white. It’s going to be a two or three-tone with pearl and flake.
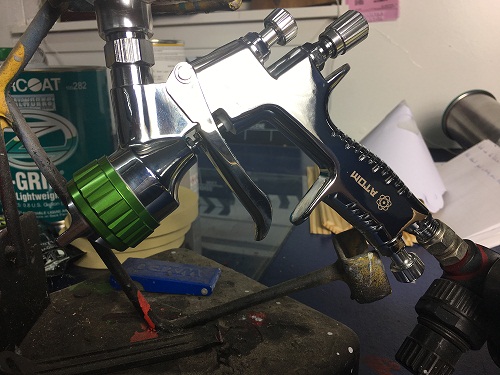
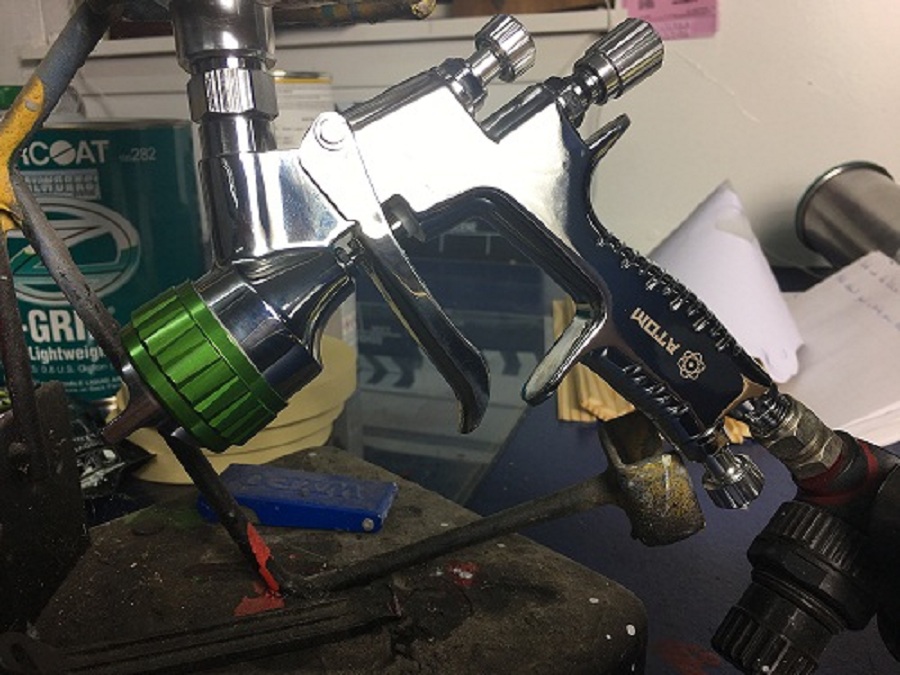
The bars will probably going to be painted black with the Atom X16 Mini Spray Gun. The Mini Spray Gun is a lot better to use when spraying bars.
The color will be a nice white and teal one. It’s going to be really beautiful. This Mini Truck Project Series will be uploaded in the LearnAutoBodyAndPaint VIP Program so I highly recommend you guys check out VIP now.
Let’s move on to the materials that I’ll be using. 
I’ll be using a 320-grit sand paper and also picked up a 3M Sticky Roll. You can use either the Velcro or the Sticky Roll.
The sand paper costs $29 for me since I have a shop account. You’ll be paying around 15% more if you don’t have a shop account.
I’ll be using the Advantage Primer which is very affordable. The guy at the shop told me that this is a very good 2K high build primer sealer. This system is a great base foundation to paint on top of.
This setup includes a quart and a cup of activator. It costs $42 for a quart of primer and the activator is $17.50. This kit is basically around $60.
The cool thing about this system is that you can reduce it with as much reducer. I can actually put an additional eight ounces of reducer to thin it out if it’s too thick.
Remember, the thicker you go, the bigger tip size you’ll need. I used to spray this over a 1.4mm tip, but you need to thin it out and compensate by going over a couple of coats.
Another way is using a 1.8mm or 2.0mm tip size rather than reducing it so much. For this project, I will be using a 2.0mm tip.
Now, let’s talk about the body filler. I’ll be using the EverCoat Z-Grip which was on sale. It’s normally $50 bucks I just got it for $28.47 for a gallon.
If you want to get the rage gold, it’s on sale for $80 right now. The regular price of that is $100. I don’t know about you, but I’m not spending $100 for a filler.
For newbies who are planning to use pearls or flakes, I’d recommend this product, the DBC 500 which costs $61.78. This is an intercoat clear. It’s not a clear coat but mid coat where you can mix up your pearls. It’s like a clear base coat.
I’ll be spraying my white base coat. Then, mix some of the intercoat with a reducer with a 50/50 ratio. After which, you need to mix in your pearl or flake. A quart of this will make you half a gallon.
We’ll use the X Finishes Moon Dust White Pearl with white base coat for this project. I usually don’t do this since I could just mix in the flake right into my clear coat. For more experienced painters, you can just do the same but you need to be sure not to run it which will be a problem.
I also got a couple of rolls of American PG which is $3.71 per roll. I like this brand a lot and recommend you spend on a good quality tape. The cheaper ones will stick on your project and will have problems taking it off.
A lot of people wants me to show paint. (LOL!) I am using the House of Kolor USC01. This is good clear and I like this product a lot. This is just a leftover from my previous project so I will need to buy more of these and stock up. I think I bought the set for around $200.
We’re also using the Dolphin Glaze for our glaze putty. This was also on sale. It normally costs around $25 but I just got it for $12. It’s a 2% mix with the activator. This will last you quite a few jobs.
Check out the video as I show you how the teal color looks like. Maya, my assistant is helping me out on this. J
All the materials that I bought, except for the clear coat costs $315. I could have probably saved a more if I got the sandpaper at Super Grit.
This is the Atom X21 Spray Gun that we’ll be using for this project. Check these amazing spray guns on Zoolaa.
We only stock the 1.4mm and 1.3mm tip sizes. We’re sold out on the 1.4mm tips but you can still use the 1.3mm tip size and get the same results for all around base coat clear coat.
At the latter part of the video, check out where I compare the Atom Mini X16 Spray Gun with a cheap MasterGrip Spray Gun.
The cheaper guns have a plastic threading which will wear out after a couple of tries. The next batch of Atom Mini X16 Spray Guns will soon have a flat look like a stealth fighter jet.
As you can see in the video, this spray gun has a stainless steel threading which will not be stripped out. It’s not heavy and it feels really good in your hands. It doesn’t look cheap.
It’s a little bigger than the Sata Jet. The handle and the trigger is bigger than the Sata. The trigger on the Sata is so tiny that you can only put one finger on it. Wherein you can put two fingers on the trigger of the Atom Mini X16 and fits a lot better. Grab this now on Zoolaa.

Question: Is Turtle Wax good for buffing sanded clear coat? [22:02]
Turtle wax is crap. You need to use a compound. 3M Perfect-It Swirl Mark Remover is a good one as well as the Auto Magic Power Cut Plus, which is a good compound for buffing out 2000-grit or 2500-grit.
I’m not a fan of the white pads. I like the yellow wool or strictly foam. For this project, we’ll use the foam.
Moving forward, all of our buffing will be done with foam. This is the new way of doing things. We’re moving away from the old style buffing pads and moving on with the coarse grit and fine grit foams for buffing.
Question: What is glaze used for? [25:29]
Glaze is for filling up rock chips and sand scratches that you missed along the body work process. It is also used for touch-up before your final paint job.
Question: What is a good air water filter for the spray guns? [38:45]
I use these plastic water filter for my spray guns which takes out the moisture from your air. It costs around $5 each.
I also have an air and oil separator which is coming out of my tank for about 10 feet off. If you’re painting in hot days where you’ll have condensation, you’ll need to check that in between your paint jobs and drain it. It prevents it from going into your lines.
Question: Are the Atom guns compatible with the 3M PPS? [44:04]
Yes, definitely! They are basically the same size. It will fit.
I hope you like tonight’s show. You guys are really awesome! Thanks everyone for joining me today. Hope to see you again next Thursday at 9pm ET. Please Like, Share and Subscribe to my videos.
For those of you who want to learn more about DIY auto body work, grab your FREE 85-Page Auto Body And Paint Manual and start working on your own car projects.
I will talk to you soon! Cheers!
Tony

Other Helpful Links:
Bumper Scuff Repair – Quick Fix Hack
Do You Use Expensive Materials or Cheaper Solutions When Painting?
How Long Should a Auto Body Paint Job Take You?
The Basics of Painting A Car From Home!
89 Daihatsu HiJet Mini Truck Project and DIY Auto Body And Paint Q&A!

