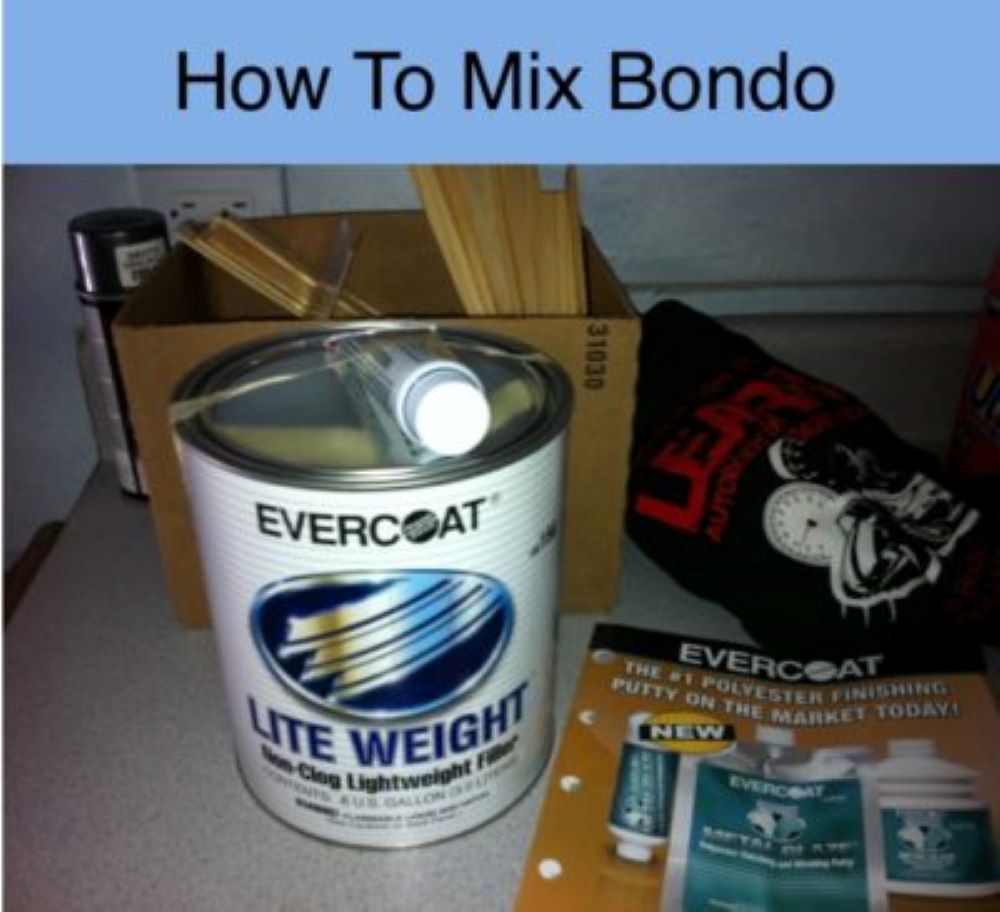
How To Mix Body Filler, aka (Bondo)
This is how to mix body filler, also as known as Bondo. First, you need a Bondo board.
Get started with a piece of heavy gauge sheet metal or (what my father used and taught me to use) a piece of glass that’s glued to a wooden board of some kind to mix on. This way it won’t crack or chip if you bang it up a little. So go ahead and make yourself a body filler mixing board that you can use for years to come.
This is recommended for a fast clean up and you’ll end up using that board for years to come, trust me. A nice razor blade cleaning when you’re done and your Bondo board will be good as new every-time.
If you’re a beginner I recommend by starting with small mixing amounts of filler so it doesn’t harden before you’re finished shaping it on the panel. You can always mix more if needed.
Important Reminders: After you open up your can of body filler can for the first time, mix it. See how I do this in the video below. Also, don’t forget to mix your hardener while it’s in the tube.
How Much Hardener Do You Add To Your Body Filler?
You need to be sure to add the right amount of hardener to your Bondo; adding more than enough will cause your body filler to dry faster and give you less time for shaping and laying your filler on your panels.
By adding not enough hardener; you’ll end up with a pale looking filler color that will take hours to dry and sometimes it won’t even dry at all. You’ll end up scraping it all off just to do it again.
Like my Father always said “for every golf ball size of body filler, put about 5-8 drops of hardener in it”. Go ahead. Test that out! Once you get the technique down, you’ll be able to add in lines of hardener like I do in my videos.
Make sure after mixing that your putty looks uniform and one color. Usually body filler is a light grey color and hardeners are blue or red. In the end you should have a putty that looks pinkish or a light bluish color.
If you don’t mix your putty thoroughly you’ll end up with soft spots in your filler and you don’t want that. The chemical reaction between body filler and the hardener also depends greatly on room temperature It will dry much faster in a warm or hot day rather than a colder day so keep that in mind.
Body Filler Spreaders and Applicators
You have the option of using many different sizes of applicators. I used to use the metal ones when I first started because it’s what my father used most if the time. But now, I like the plastic ones. Why? Simple. Because it’s easy to clean up.
After the putty hardens on your applicator you can just bend your plastic applicator and peal the Bondo right off. They come in many sizes like 3″ 6″ and you can easily cut them smaller if you need a certain size.
Body Filler/ Bondo FAQ
Q. Can I apply body filler over a painted surface with out sanding?
A. No. You should sand to the bare surface in most cases. If filling over shallow dents or over fiberglass, then make sure that the surface is sanded with at least a 100 grit paper so the filler has a surface to adhere to.
Q. Is body filler waterproof or resistant?
A. Yes. Tests show that body filler only absorbs 0.3% which is enough to say yes, it is water resistant. You can apply your filler, get it wet and it will be fine. Applying primer and paint will make it waterproof.
Q. What type of paint can be applied over Bondo?
A. All kinds of automotive paints, rustoleum paint, even house based latex and oil based paints
Q. When can body filler be painted?
A. 45-60 minutes after it’s cured and basically prepped for paint. Say, you laid your filler over a small area and let it site for 10 minutes to cure. Takes you 10 minutes to sand it to shape, 35 minutes for primer and cure time, another 10 minutes to wet sand and have ready for the painting process.
Q. How thick should fillers be applied?
A. Generally you want to stay as thin as possible and under 1/4″ thick. But I’ve been in this business way too long to say that’s what everybody does (body shops included) I’ve seen and ground off 1 inch thick of Bondo off of cars. I like to say, stay thin as possible all over. Try not to fill for correct gapping or near door, hood and trunk edges and corners.
Q. My body filler is not curing why?
A. Four main reasons. 1. Not enough hardener mixed with your filler. 2. The cream hardener is old and passed it’s usual 1-1/2 year shelf life. 3. Not mixed properly (Bondo still grayish in color or same as original color) 4. May have been mixed in a colder than recommended conditions.
Q. What is the mixing ratio for body filler and cream hardener?
A. Use a golf ball size amount of filler and use 5-8 drops of hardener or about and inch and a half strip of hardener.
Q. When can body filler be sanded?
A. 20-30 minutes after applied. Or a few days later.
Q. What is causing my body filler to have pinholes?
A. Using too much hardener can cause gassing, mixing in a circular motion which increases and forces air into the mix. Mixing should be done in a back and fourth wiping and folding motion.
I hope that you learned a lot from this post 🙂 Please feel free to comment below, we would love to hear back from you! Also like and share if you loved our content! Thank you 🙂
Do you want to see how else we can help you? See the LABAP story here and how we would love to have you onboard as a VIP ‘insider’
-Tony


excellent
🙂
hey i was thinking about buys your vip membership but i don’t know what type of equipment i would need to start i would be a beginner and would need all the equipment i was wondering if you can to a video on what equipment you will need and what a good beginner gun would be to start. i herd to go with devilbiss
Devilbiss is great to start with. Be sure to get a 1.3 or 1.4 tip. That will cover you for all kinds of painting. I do have videos that talk about that especially in VIP. It’s all covered inside. You don’t need much when first starting. The main things are a compressor 30-60 gallon is ideal, a dual action DA sander, a spray gun, a few blocks, some body hammers and maybe a dent puller. Again, you build up your garage as you go. I never had everything when I forst started. I got my pops hand me downs, and slowly bought my own stuff 🙂 I just may do a new blog post tomorrow on this topic 🙂 Talk soon and thanks for the comment!
P.S. you can learn more about VIP Here: https://vip-offer.learnautobodyandpaint.com
Tony, am just starting the course. Have had a course, for a year in Auto Body and Paint, but was 35 years ago. Am in the VIP course now, but just getting started and enjoying the course. Is there going to be anything about Water-based paints? Have heard that newer cars are often water-based. Just asking, if that might be in the future. Thanks Tony. Great course you have.
Hi Tony, it’s been a long time. Happy new year! I must commend you for the knowledge and impact that you,ve really added to my body work and painting experience.
Bravo. Thank you for sending me all of this information since the begining of this month. Thanks!
Yusuf A K
No problem. Glad you are enjoying the site. Be well!
didn’t exactly know what the ratio was but this short video clip showed some great info. Thanks Joe
Glad you liked it!
You have talented in born
Thanks bud. DOn’t forget, we are here to help and teach you these things 🙂
Thanks great advice I have been working in my on shop for several years and have many questions thanks for this segment
Awesome Sam. If you have any other questions, just ask and I will do my best to answer them for you and maybe even make a video specifically for that.
Tony:
With this new “FlexSeal” stuff out there, have you tried using this in place of Bondo?
Or in places where Bondo might be too difficult to get to.
No way lol. Don’t It may be good for some basic undercoating use or maybe even using as a sprayable bed liner.
LOL!!
I hear ya, I used it on my skylight on our kitchen roof and it worked better than the Henry Patch stuff, but I guess an auto windshield is a little different.
Not looking forward to removing the trim and windshield though.
Oh well…if I’m going to do it, I best do it right or don’t do it at all.
Mahalo T
Hi Tony,
All you videos and information are excellent. You explain everthing so it is very clear and easy to understand.
Jim
Thanks Jim! Glad you like them 🙂
Hi Tony,
I am a disabled computer field engineer, Handy with my hands.
You have a gift for teaching auto repair and body work.
I started a auto body repair on my 1986 Monte Carlo LS. The vinyl tap went rotten and created extensive rust and holes. When I removed the vinyl top there were at least 40 holes in addition to the 20 holes outside the vinyl top.
With out any auto body repair experience, I dove into the project. I filled the holes with Bondo until they didn’t fall through anymore. Then I covered of all of it with a 2+1 Sand Filler Primer.
Well (live & learn), I found out all should have been covered with Rust Preventer before the primer. So I started all over, covered everything after sanding with Loctite Rust Preventer & Converter, I also applied a Glazing putty to get a smooth as possible finish.
Sanded with 80, 100, and 120 grit paper with a drill adapter, then after Prep with putty glaze finish sanded with 220 &400 grit with a DA sander.
I believe I am ready to spray my 2&1 Sand Filler Primer once again.
Please let me know if I am ready. Thank You for your help
Yes I think if you have the body smooth and flat, you can be ready for a 2k filler primer. You could also prime safely over a 280 grit. Good luck and keep me posted. Did you check out VIP? https://vip1.learnautobodyandpaint.com/exclusivevip
One feature of putting more hardener in the mix is that the finished product will be more flexible, which in some applications, can be beneficial. Yo might make mention of that fact.
Thanks Gordon!