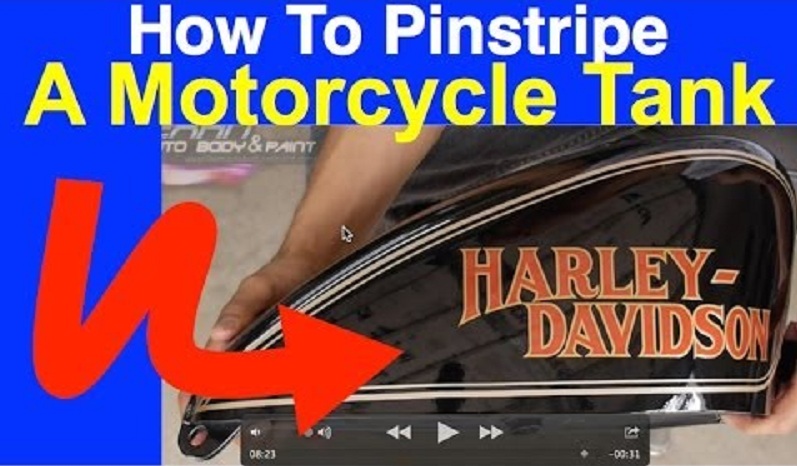
In this quick video, I show you how to pinstripe a motorcycle tank. I show you exactly how it’s done.
What we’re using here is Prostripe. If you’ve never heard of it before, it’s a very popular brand of automotive vinyl pinstriping. So you can go to any automotive store and I think there’s a website out there, too. I’ve never bought it online but you can just search Prostripe vinyl.
So we have a standard gold pinstripe here with 2 lines, a thick one and a skinny one. I don’t know if I want to keep both of them on there or take one off. We’ll see once we get it on.
Inside the VIP Membership Area, I have a whole video on doing the whole side of the car with designs at the end.
I like to use a glass cleaner to quickly get all the wax, grease and oil off before putting our sticker on. Now you want to make sure the whole area is nice and clean. This way you’re not putting it over any kind of oils.
We just put it on one side for now. I bended it in the middle because we got 2 pieces, one on each side. So I went ahead and ripped one. I show you how I played around with it.
I think the thicker line on top looks pretty cool. You could do whatever you like. Or at the end, you can take off either one.
If you mess up, you just have to do it again. You may mess up or not but most likely, if it’s your first time…you will mess up. If you pull too tight like I said, you will stretch the decal, it will look skinny. It won’t look even, like how it’s supposed to look.
I even did it again. A lot of times it comes out really good when you don’t care and you’re just doing it quick. Instead of pulling it all off, you could also break some of the protective layer off and just work with a little at a time.
The flat parts are the easy part, the corners are the tough part.
Just press it all down. Then remove the protective layer.
You can get creative especially at the end point. You can make it look cool.
I use a blade when cutting the ends. Make sure you do it carefully so you don’t go through the paint and scratch it.
Another challenge is to match what you’ve done on the opposite side. It may take you a couple of tries but you know…hey it’s just a decal, it’s just a sticker. If you mess up, just peel it off and redo it. 😀
I think the finished product looks pretty cool. We’ll go ahead and do the other side.
That’s it! Thanks for watching the video.
To learn more about this, be sure to get your FREE 85-Page Auto Body and Paint Manual plus we’re also giving away a FREE 90-minute Auto Body and Paint DVD!!
– Tony
Other Helpful Links:
Get A Free 90 Minute Auto Body DVD Here
How To Plan Your Auto Painting Project
Warick Spray Gun Review (what we use to paint at LABAP)
