Did you enjoy this video? Check out the LABAP VIP course that will help you turn into an auto body and paint pro, from home!
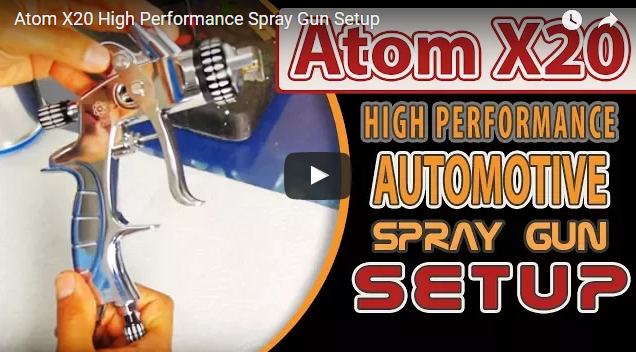
Hey, it’s Tony from LearnAutoBodyAndPaint. In this blog, we’ll talk about the Atom X20 High Performance Spray Gun Setup.
We’ll do a complete disassemble, set up and a few maintenance tips for the Atom X20 Spray Gun.
When you receive your Atom X Series Spray Gun, it’s always advisable to get it clean. During production at the manufacturing house, they coat the inner needle and some of the parts with light grease, so you need to wash it out before painting. Otherwise, you will have a chemical reaction when you put paint in it.
Let’s take off our tip and cap. This is a 1.4mm tip size. You have to do this very lightly so you won’t mess it up.
If it pops off, which will most likely be the case, it doesn’t matter which side of the spring you put it on. Next is give the trigger a quick pull to reveal your fluid tip, which you could pull right out. You can see that there’s a light coated grease on the tip.
You have to give it a quick clean with lacquer thinner and brush. Make sure that you’re not using paint thinner. Check out the video for my demo.
Make sure to clean the cap, the spring and most of all our fluid tip and needle. Make sure to wash off all of the fluid grease.
Then, dry everything up with a lint-free cloth. Make sure that you don’t damage this part that I show you in the video. When it gets bent, you’ll need to buy another rebuild kit. The Atom rebuild kits aren’t bad at all. They are reasonably priced unlike those of the Satas.
It helps to have some squeegee bottle to shoot some thinner in it. After which, watch the video as I show how to put the spray gun back together.
Make sure that the bar lines up where your tip can go through. This is super important so please watch the video.
When putting back the air cap, make sure you always go backward first to make sure it’s seated correctly. Also, ensure that it is nice and set, then give it a quick snug.
You can see that the cup has a gasket in your cup so there’s no need to put a plumber’s tape on it.
Now, hold the trigger pull and tighten it up. You’re good once it hits. You now have full fluid flow. If you want to adjust your fluid flow, just tighten it up so your trigger doesn’t go all the way down.
Let’s put a little bit of lacquer thinner in the cup and give it a quick shake, then, pull the trigger. If you’re taking the cap off, you need to hold the cup so you won’t loosen up the whole thing.
It’s Tony from LearnAutoBodyAndPaint. I hope you enjoyed this tutorial. Check out the Atom X20 Spray Gun on Zoolaa. These are awesome spray guns and priced affordably.
If you want to learn more about DIY auto body work, don’t forget to grab your FREE 85-Page Auto Body And Paint Manual. To get access to my step-by-step video training course, join the LearnAutoBodyAndPaint VIP Program and get all the information you need to get started with your own custom projects.
Please Like, Share and Subscribe to my videos! Cheers! Talk soon!
Tony
Other Helpful Links:
Atom X21 High Performance Automotive Spray Gun Setup
Dry Primer Causes, Why Your Primer Sprays or Looks Dry Auto Body
Auto Body & Paint Materials You Need To Paint Your Ride

