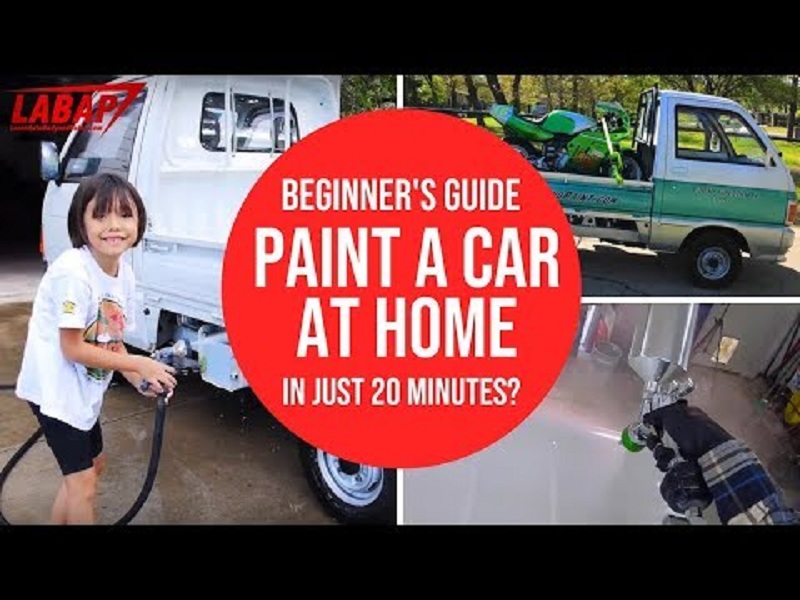
Did you enjoy the video? Check out the LABAP VIP course that will help turn you into an auto body and paint pro, from home!
You need to make sure that the car is clean before you do any body work. If you need to remove parts, then go ahead and do so. The more parts you take out, the better and more professional your paint job will look.
You also need to put screws back where they belong. I like to hit it screws like these with a wire brush to make them look new again. If you want, you can spray paint them black. Sometimes, they just look good by cleaning them up.
Also remember to remove weather stripping if you’re painting door jambs as well as decals to save your sand paper and not make a mess. You can use a heat gun or a hair dryer for this.
The cover has been damaged, so we’ll heat it up quick with a heat gun. If you don’t have one, you can use a hair dryer. You need to heat it then bend it back in place.
This part of the video [1:28], we are repairing the front cover by welding new plastic in with 3M Epoxy. Scuff with 80-grit sand paper so the epoxy can adhere.
The 3M 08115 Bonding Adhesive which is perfect for plastic repairs and body kits.
Rule 1 when doing body work on a brand new project is to go around the car and mark the defects. For the Daihatsu Mini Truck Project, we’re not going to worry about all the spot welds. I just want to make it look cool and nice.
We’re now grinding to metal on large dents to prepare for body filler and for this, we’re using A-16 grinding disc. [2:28]
Now, we’re using a stud welder to pull out dents. You need to squeeze for more than 1.5 seconds otherwise, you can burn a hole. [2:37] Tap high spot with hammer when pulling out dents as well.
For every golf ball size of filler, you need to put about 6-8 drops of hardener. Of course, if you put more, then it’s going to dry quick. Same way, if you put less, it will take longer to set up which is good because you can play with it and shape it. But, if you don’t put enough, then you’ll have problems because it will never dry.
I like to shape bondo or filler with 80-grit sand paper. Then, you can move to 240-grit or 280-grit before primer. Block sanding is also great to ensure you are keeping it flat.
Keep on watching the video as I do more demos for you.
I talk more about these in the LearnAutoBodyAndPaint VIP Course. For those who want to get started with their own custom projects, go ahead and secure your VIP slot now.
To learn more about how DIY auto body work and what’s in store for you in VIP, grab your FREE 85-Page Auto Body And Paint Manual.
It’s Tony from LearnAutoBodyAndPaint. Thanks everyone for watching this 20-minute video. SMASH that like button, Share to your family and friends who want to get into this and Subscribe to my channel to get more great content!
Talk soon! Cheers!
Tony
Other Helpful Links:
How To Paint a Car With Single Stage Enamel Paint
Quarter Panel Body Work and Paint Update
How To Paint a Car in Your Garage – Repairing Dents, Chips And Preparing for Professional Paint
Plasti Dip Parts & Assembling Truck From FRESH Custom Paint Job


Tony you said i could have the RPJ Course for free. Dont k ow how to contact support to let them know i talked to you on your live chat. Could you let me know how to contact support to let them know. Sorry i tryed to find it but sent me to place i couldnt sent anything to them. Again sorry
Hey Bradley, email support at [email protected]. Thanks!