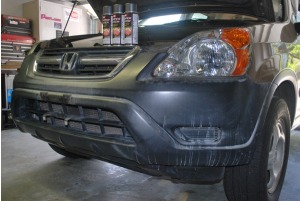
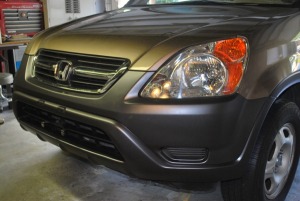
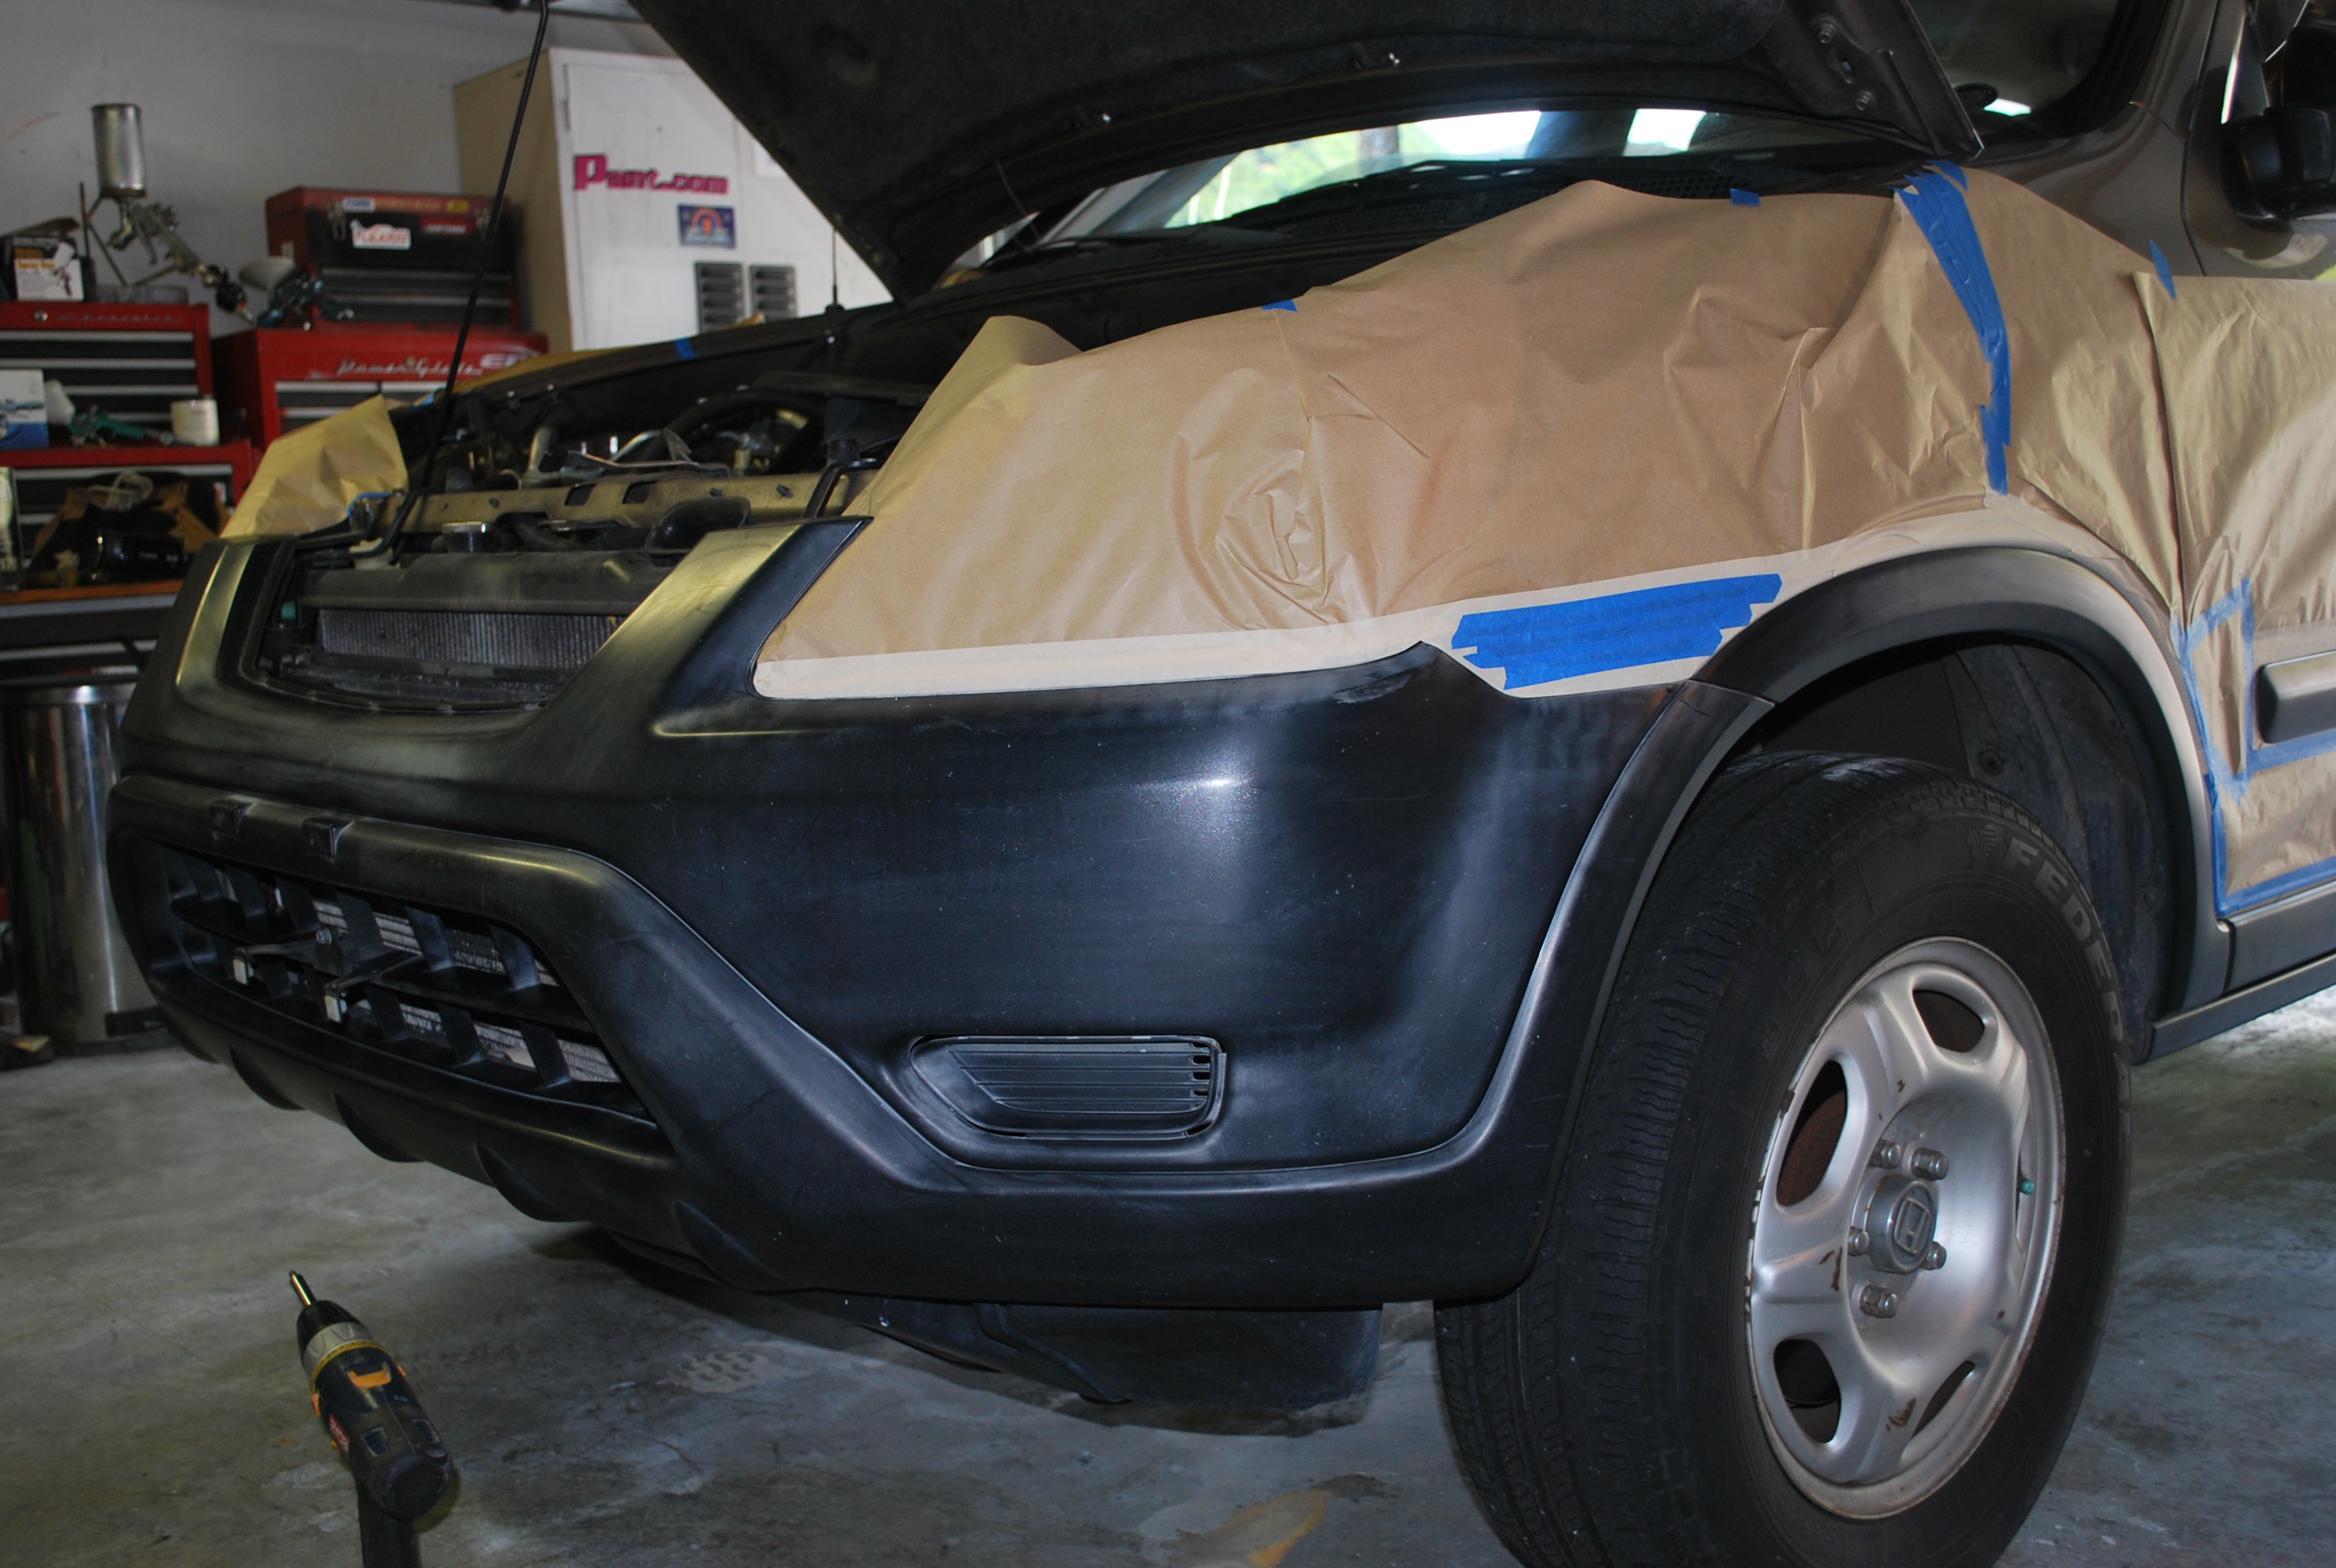
In the video above we tackle the most common fix in the industry. You know when you see those ugly faded plastic bumpers right? Well, we’re going to show you how to paint plastic car parts so you can make your project look a LOT better!
There are 3 ways to fix this kind of eye sore.
1. You can try to scrub them with some car soap or degreaser and wash the oxidation off. 
2. You can buy a solution they sell (like a basic rubbing compound) which works well, and just rub it out. Some ppl use peanut butter! I personally think that’s a little wacky but whatever floats your boat. I’de rather use come compound. the same compound that you’d use to buff your car.
3. If the bumper really looks bad (Paint It!).
That’s what we’ve decided to do in the 7 minute video above.
Keep in mind that this job was a QUCKIE. We didn’t bother to fill in the minor scratches with glaze putty that were on the rear bumper cover. Good thing. Because I found out that the truck was backed into something a week later and got ruffed up even more.
The first step to painting plastic parts is to properly clean your plastic. I prefer lacquer thinner.
REMEMBER: there us a difference between ‘paint thinner and ‘lacquer thinner’. You want to use lacquer thinner. Next, pick some cans of SEM bumper coater. It’s good stuff and they also have a formula now where you don’t need to worry about adhesion promoter (stuff to put on the plastic so your paint sticks).
Mask. Take your time and do a good job. Prep is the most inportant part of painting. If you do a crapy job masking, the job will look like hell.
You can lightly wet sand your plastic with 600 grit if you wish but I wouldn’t go any courser. The bumper paint is thin and you may have problems covering. As long as your parts are washed well with lacquer thinner you’re safe to paint directly on your plastic bumper.
Spray 2-3 coats or until full coverage. …and that’s basically it.
Hope you enjoyed this post. Feel free to comment and share this post. We would love to hear back from you! 
If you enjoyed this quick article and video about auto body and paint tricks and tips, do check out our EXCLUSIVE VIP Club right here. Take advantage of our cutting-edge training materials that cover all topics of auto body repair. From complete custom painting, rust repair, body kit installation, modifications and painting.
You’ll have the chance to unlock 70 PLUS hours of Step-by-Step easy to follow auto body training videos, the private (members only forum), full support to ANY auto body and paint questions that you have and even our private facebook group.
Why not join THOUSANDS of other smart do-it-yourself enthusiasts like yourself and learn envied skills that most guys only dreamt they had.
See what we have to offer you in the VIP Club here!
Cheers!

Hi tony, It’s good information. I’m do the same job but with your experience thank for sharing with us. Keep it’s up.
Awesome man!
That’s a good technique painting plastic. Great job!
Hi, my car is silver do you have any brand you could recommend to paint silver trims?
Thanks!
S.
Depends on what kind of paint you want to use. You can use PPG if you’re going to base clear them. Or SEM for what I did here… You can learn a lot more within our VIP Club here!
Awesome instructional material. nice work. I have a dime size hole in my 2009 jetta plastic bumper and am wondering what method you would recommend to fill it. Should i reinforce from the back side with a patch type kit or can I just fill in from top and then sand down. What flexible plastic repair epoxy do you recommend. Thanks!
If that small even some of that plastic repair epoxy from 3M will work great. You can buy them in small tubes from homedepot or an automotive supply house. Fill it, sand it down, prime and paint it. You may need to hold the back with a piece of tape, then fill it. After finished you should remove that tape and give it a light spray with rubberized undercoating to seal it from moisture. Good luck. By the way, did you see what we have to offer you from our vast library of video trainings? Check it out here: https://www.learnautobodyandpaint.com/vip
I have a 2019 white ford fusion and someone just barely scraped the back driver side plastic side panel. Thankfully it is plastic and did not dent but it was deep enough to show the black sub surface. The area is less than the size of a baseball. How should I proceed.
Hey J. Grant! It’s pretty difficult to reply here under comments. Send in your question to [email protected] together with pictures of your project so I can send you an accurate suggestion on how to proceed! 🙂