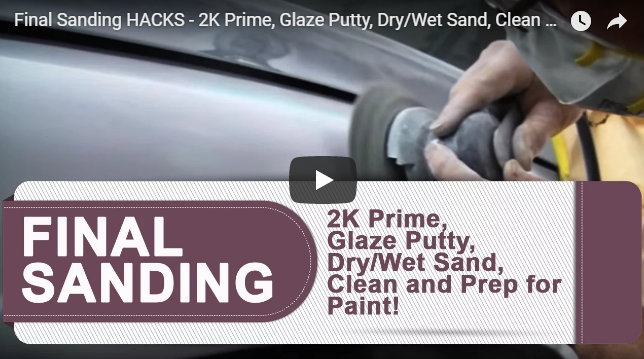
Hey, it’s Tony. Thanks for watching the video and checking out the blog. Today’s blog is all about Final Sanding HACKS – 2K Prime, Glaze Putty, Dry/Wet Sand, Clean and Prep for Paint!
This part of The Godfather Project. As shown in the video, we’re cutting some time by using the DA sander with 320-grit sandpaper and cutting down some of the glaze putty or 2K filler primer. The important thing is to keep it flat on the surface even if it’s the tip.
We got all of the dents out. Everything’s fixed and ready for final sanding. We’ll do a water sand with 400-grit. We’re going to wash down all the panels, then mask it and shoot it.
You can use the block with the sanding technique, but you can even use your hand if you’re comfortable.
It’s never good to keep sanding too long in one section with your fingers because you’re going to create bruise in your paint. It’s always good to go in a circular motion with your palm and keep moving.
This way you sand evenly and don’t create creases and bruise into your paint by staying in one spot too long.
We’re using a 1K rustoleum primer. We’re just going to hit all the metal spots and cover it because you don’t want to paint over plain glaze putty or any kind of metal or body filler.
You always want to paint over primer, unless it’s regular paint such as clear coat.
Then, we’ll start masking up the truck. Notice how we tuck in the plastic. When you’re spraying the hood, the overspray is going to go up, so you want it to flow up to the brown paper and up to the plastic. If you did it the other way, the overspray could go underneath.
Watch the video as I show you my father’s trick. You put two pieces of toilet paper on your mask to serve as a pre-filter.
Now, we have a quarter piece of 400-grit sandpaper which we will fold to a 1/8 piece. We’re going to scuff out what we primed very lightly. If we sand too much, it’s going to back down on to metal again which makes no sense.
Then, we move on to the wax and grease removing stage. We’re wiping all of our panels down with wax and grease remover to take off the finger oils. The worst thing to paint is oil.
Oil or anything with wax or silicone is the enemy of paint. Once this step is done, we’ll mix our paint up and tack it down. The tack rag is the final step before we start our base coat.
If you want FREE information on auto body work, grab your FREE Auto Body And Paint Manual. If you want to get complete access to The Godfather Project, join the LearnAutoBodyAndPaint VIP Course.
It’s Tony from LearnAutoBodyAndPaint. Please Like, Share and Subscribe to my videos. Don’t forget to join me in my weekly live stream every Thursday at 9pm Eastern.
Talk soon! Cheers!
Tony
Other Helpful Links:
Auto Body for Newbies – How To Fix Rock Chips and Prep a Car for Paint
How To Repair and Paint Your Truck Step by Step – Part 1
DIY SPECIAL: Step by Step Auto Body And Car Painting Footage for Newbies
Dry Primer Causes, Why Your Primer Sprays or Looks Dry – Auto Body Q&A Call

Learned alot from your videos, I am a member, When are you uploading the red BMW and the miata videos to the website? Good videos man
hey Jaime! Thanks for the awesome comment! The Miata series is up. The car is not 100% complete yet though. I plan to re-shoot the mirrors and hard-top black with black pearl! Also the BMW, coming very soon! Working on the edits to the series now. Thank you for the patience!