Hey, it’s Tony. Thanks for watching my video and checking out the blog. Today’s blog is all about How To Paint a Car Mazda Miata Sunroof Install Project Update.
This is an update on the Mazda Miata project. So, I’m showing you what we’ve done so far and what else we need to do to complete the project.
We have a new coilover system which will be put on the car this weekend. We also have the brand new 17-inched rims and tires. The stocked ones are 15-inches.
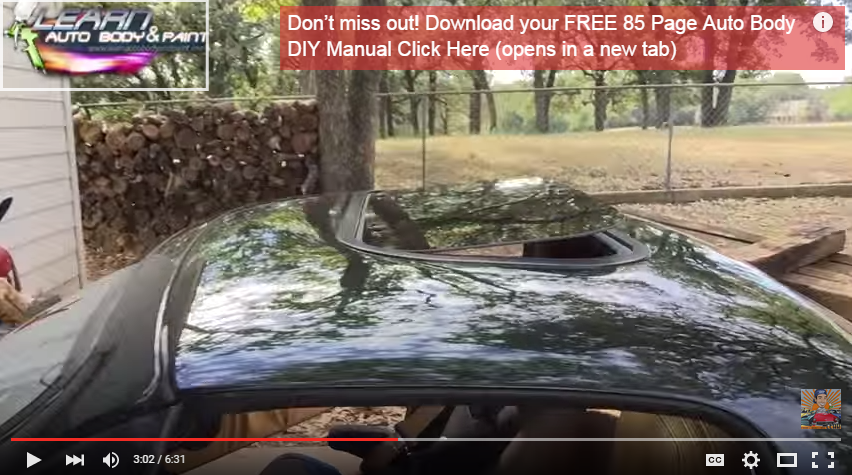
In the video, I’ll show you how it looks like now. I’ll walk around the car with you. The front body kit came out nice as well as the hard top. The car is looking really good.
All we did this weekend was finished up the hard top. We put the universal sunroof and painted it. The sunroof has two settings. We can bring it all the way up or make it a little lower in height.
The only thing left is color sanding and buffing. I’m probably going to do the hood, the trunk, the highlights of the fenders, the graphics area, some of the roof and that’s about it.
I’ll also make some videos and show you tips and tricks on color sanding and buffing to shorten the process so you don’t have to spend a lot of time and energy, when you can only do it half the time.
I started sanding the bottom areas out. All the highlighted areas will be color sanded and buffed so it will look like a showroom glass gloss.
Check out the video as I show you how you want it to look when you start sanding out the texture of the paint. It will look like orange peel but this is normal.
When you paint something, you’ll get some sort of texture. It is very rare that you get a super flat finished gloss unless you cut and buff.
I also have a big sag and run on an area but that’s fine because I’ll block this flat and sand it right out.
It’s better to have more clear coat than lacking in it. But, the problem when you’re running with metallic is sometimes, you’ll have a silver flake metallic run that will be hard to take out. But, it doesn’t look like I have that problem.
There’s a little bit of overspray on some areas but it’s going to be sanded out. We have overspray because I did the door jambs the other day.
The door jambs also came out really good. The rubbers will be cleaned out a little bit more with lacquer thinner. But these are minor detailing that we can do later.
Overall, the car is going to look really cool. I’m already driving it. I’ve got a ton of looks when I drive this car. I can’t wait to put the 17-inched rims on it and drop it about an inch.
It’s Tony from LearnAutoBodyAndPaint. If you’re looking to learn auto body and paint and you want to do it affordably and at your own pace, check out LearnAutoBodyAndPaint.
Check out the free trainings on the site. We have blogs and tons of videos, subscribe to my YouTube Channel and get the FREE 85-Page Auto Body Manual.
It takes you through A-Z of automotive painting and all kinds of tips and tricks. And, if you’re interested and want to get more advanced, check out the LearnAutoBodyAndPaint VIP course.
We have close to one hundred hours of step-by-step videos which are exclusive to VIP members. The cool thing here is you get access to a private community, the forums and the exclusive Facebook group.
I make mistakes all the time, like that run on the Miata. But, what sets LearnAutoBodyAndPaint from other courses is that I document all of my goof ups, and the entire process to correct it, then upload that in the members area.
Please Like, Share, Subscribe to my videos and comment below. I’m super excited about the Miata. It’s ninety percent done.
I just have to color sand and buff it, put the suspension on with the rims and I will make a final video.
Talk to you soon! Have a great day!
Cheers! Bye!
-Tony
Other Helpful Links:
How To Paint Miata Hard Top Update Learn Auto Body
How To Reduce Pollution When Spray Painting A Vehicle
Learn Auto Body and Paint Q&A – Auto Bodywork Tips and Answers
How To Paint a Car Yourself – A-Z Car Painting Steps in 12 Minutes
Avoid This Polyester Primer Mistake – Complete DIY Auto Body Paint Project Update
