Hey, Hey, Hey!
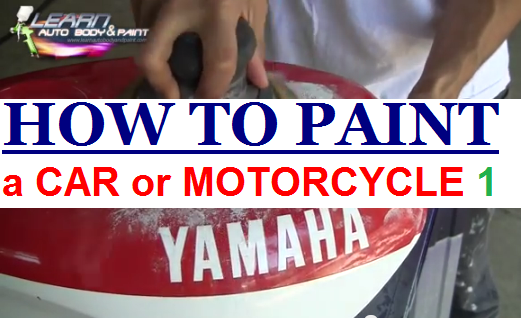
Check out this 1988 Yamaha YSR50 Project. We did a frame-off restoration. To get the complete videos, make sure to check the LearnAutoBodyAndPaint VIP Course.
Click on the video to watch some clips as I take you through some of the step-by-step process on what you need to do to bang out a complete project.
The first clip I show is the disassembled parts of the bike. Before you do any kind of major body work (by major, I mean sanding), you don’t want to sand grease or dirt into your old paint. The first thing you do is, wash everything down with a degreaser or a good car soap, any car wash that doesn’t have any silicone or waxes in it.
You know what is even a good thing to use? Dish soap. The same kind that you use to wash your dishes with in the kitchen. That would be great to wash the parts with.
Notice how dirty the bottom of the fairing is? I wasn’t sure what was on it. It could be some grease from the engine. Inside, it was even dirtier. So we don’t want any of those dirt when we’re painting. Of course, we also painted the inside of the fairing – just gave it a quick base coat. We didn’t spray clear on it. Same thing with the front fender, it was so dirty especially on the inside part.
After completely cleaning all the parts really well, we were ready to start with our body work.
There’s a lot that goes into the step-by-step process but I make sure to show you everything so don’t forget to check out the VIP Course.
The second clip I included in the video above is about some body work. I show some parts I did with epoxy for the cracks and some bondo work for the dent. I started with an 80-grit sandpaper to shape the body filler and epoxy. Then, I used a 150-grit to smoothen it all out and do the rest of the panels, just to scuff it up and get everything shaped up.
If you see the front fender, I did it by hand because it’s such a fragile area. I used a block with an 80-grit on it, cut all the high edges down, shaped it up with my own fingers. Then, finished it off and primed it. We applied 2K primer on all the parts.
I also sanded the Yamaha decal with an 80-grit. It was a decal that was clear-coated over and itt was cracking.
If you’re a beginner, I think it’s better for you to use a flat block when sanding and do it in a criss-cross motion. But if you know what you’re doing and you’re comfortable with using an Orbital DA Sander like I was showing in the video, watch how I do it to cut down all the spots very quickly and get it flat.
If you look really close, there’s a little dark area in the middle of that bondo spot. That was a low area. So I block-sanded it down with an 80-grit in a criss-cross motion to get it even flatter and see if I could take the low spot out. That way, I don’t have to go crazy and fill it with more bondo or a glaze putty. I used the same 80-grit and sanded out the Yamaha decal using the Orbital DA Sander.
I want to show you all of these so maybe you can start by reading our 85-page Auto Body And Paint Manual. It’s for FREE!
We also give out a FREE 90-minute Auto Body And Paint DVD. Just help me with shipping. You’re going to love the jam-packed info I included in that disc.
It really doesn’t matter how much experience you have. It’s basically a process and once you know the step-by-step process, you can apply these same stuff to painting motorcycles, toy cars, complete cars, buses, campers – whatever you want!
That’s the cool thing about the LearnAutoBodyAndPaint VIP Course. I take you through every single detail that you need to know. I even show you the bad parts. We make mistakes, you are going to make mistakes but I show you how to fix those mistakes so you don’t need to go through a big problem.
This episode is only the first part so stay tune for How to Paint a Car or Motorcycle Part 2.
Do you have questions about the clips that you saw? How’s your own projects going? I would love to hear your thoughts, guys! Leave your comments below.
I’ll talk to you soon!
Cheers!
-Tony
Other Helpful Links:
Get A Free 90 Minute Auto Body DVD Here
How To Guide Coat and Block Sand Spot Putty To Fix Small Dent
How To Pinstripe A Motorcycle Tank
How To Paint A Motorcycle Yourself
Warick Spray Gun Review (what we use to paint at LABAP)

Hi I’m from Australia and I just got some color changing paint all ready mixed up in a 30 m bottle and black base color Can you try giving me a answer? could I still mix this with more thinner or reducer so I have enough to paint a bike fender? thanks!
You probably can, but very little. I say if you already have it mixed, you can add 5% more reducer. What can help is laying another base coat of a similar color below it first, then spray your final color… get it Hope that helps!