Hey, what’s going on?
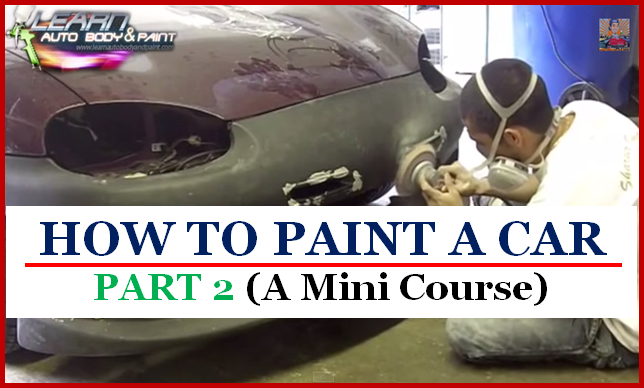
This is Part 2 of the How To Paint A Car Mini Course series on the Miata Project.
We’re doing a custom body kit on it. We’re molding a few different pieces, air dams in the front, we cut out the side blinkers from the original body kit – the bumper cover and we’re putting it in the new body kit. So I cut everything out, we put it in and we epoxied everything up.
In the video, you’ll see me sanding down the epoxy and around the whole area using an 80-grit sandpaper.
Just keep the Dual Action Sander flat at all times and feather the edges. As long as your DA Sander is flat, you will see high and low spots but you need to keep your DA Sander moving, around the light, left to right and up and down, kind of like how I used it on the video.
If you’re not comfortable using the DA Sander, use the hand block with an 80-grit sandpaper.
I also show you how I use a paint stirrer and wrapped it with an 80-grit sandpaper and used the corner of it just to get those tight corners. So you can get creative – use whatever you think will help you get those spots and wrap it with some sandpaper. They’re usually good for working with door seams, bumper seams, etc.
This is just a preview video. Be sure to watch out for the rest of the series on this. We have a bunch of videos on this project, from beginning to complete. After this, be sure to check out the LearnAutoBodyAndPaint VIP Course and grab your FREE 85-Page Auto Body And Paint Manual that I’m giving away.
Hope you like this video and stay tuned for the next ones in this same series. 🙂
-Tony
Other Helpful Links:
How To Auto Body And Paint Q&A – Part 1
DIY Auto Body Work And Painting Q&A – Part 2
How To Paint Cars – Q&A Part 3
How To Pinstripe A Motorcycle Tank
How To Paint A Motorcycle Yourself
Preview Finished BMW Body Kit Video
Warwick Spray Gun Review (what we use to paint at LABAP)
