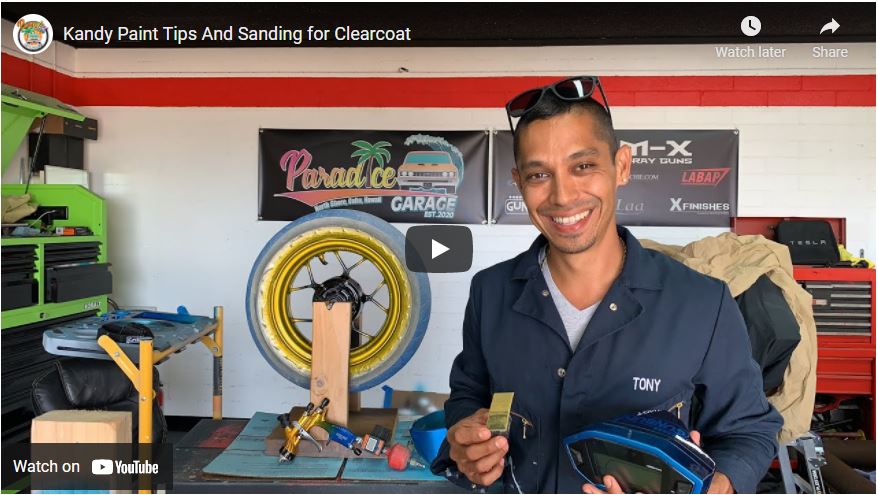
What’s up guys! Tony here from Learnautobodyandpaint.com and Paradice Garage hanging out with you today. I wanted to show you what we’re working on and give you some tips when it comes to painting Kandy.
So there are so many different things you could do when it comes to custom painting/custom colors. There are inner coats, clear/base coats, clear-clear coats to add candy. There are all kinds of things and we’re gonna get more detailed in other videos.
With every paint job that you do, there’s going to be a paint texture or orange peel, because we mixed metal flakes inside of our Kandy coat. So if you’re going to feel like little nibs of metal flake popping out, you might be able to see some of it. But to get rid of that, all you have to do is, sand it out with like 800 grit and then give it two more coats of clear.
Normally, if you’re spraying candy and you’re not adding metal flake in the Kandy, you could just let it flash and then put two coats clear right on the top of it. You can’t be putting a clear coat on dry paint that’s been dried for a couple of days without sanding it. Just flake and chip off in the months and years to come. It might last a while but depends on how you take care of it, but there’s no adhesion.
So we want to make sure that we sand it again and give it some clear coat (two more coats) and then it should literally look like glass. If you want to take it to the next level, the next step you can cut and buff. But it is not necessary to cut and buff something with small pieces unless you’re working on a car with a lot of flat panels.
🚗AutoBody Q&A🚗
Question: What primer would you use for bare metal, motorcycle wheels or swingarm, etc.?
I used an Epoxy primer and I just use a Shop Line product epoxy primer. It’s a two to one mixture and followed by a filler primer.
So I put about 2-3 coats of epoxy primer first and then we put about 2-3 coats of our filler primer, sanded it down, and give it a quick seal (got mine from Nason), and then we painted candy coat on top.
Question: I over sand the clear but I didn’t get through the base, After buffing, you can see sand marking. How can I fix this?
Basically, you just have to sand a little bit more with 2500-3000 to just get that sand scratch out, then you just have to buff it. Just be careful that you don’t burn it because the buffing heats up the clear coat which melts all the scratches together if fuses them together. That’s how buffing works.
So if you see sand scratches, just make sure you’re down to fine grit, about 2000 – 3000, on darker colors for 3000. And make sure you buff it really well, to basically fuse all your sand scratches.
Thank you guys for tuning in on my Youtube Live Stream. I’ll see you later and maybe we’ll just go live a little more. Help you guys out and answer some Q&As and show you the progression of all this Honda Grom Project.
======
I’ll talk to you soon guys. Have a good week and stay tuned for the next Youtube video within the next couple of days
-Tony
💡For More Helpful Links🌐
Fiberglass Sanding Tips Before Painting Base/Clear or Kandy – Auto Body Q&A
Finishing Car In Sections Epoxy Primer 2K Primer Suggestions
Automotive Painting | Things You Should Know and Consider: AutoBody Q&A


